
GOLF ETIQUETTE: THE HOW AND WHY OF REPAIRING YOUR BALL MARK
The unique etiquette of golf is one that takes some beginner golfers some time to get used too. One of the biggest things to learn is how to repair your ball mark. Some beginner golfers have yet to learn this almost unspoken rule of the game, and then there are even some established and good-intentioned golfers out there that have been repairing their ball marks the wrong way.

Here is what a ball mark would look like directly after impact after a rainy day.
This article will stand as a friendly reminder to all golfers, men or women, young and old, beginner or avid, that fixing your ball marks it is a good habit to get into. This article will also delve into how to do it properly because it is an important part of the game and every golfer has an obligation to help take care of the courses we play.
What is a ball mark?
A ball mark is a little depression or crater in the grass left by a golf ball when it lands on the green from a tee shot or approach shot. They’re formed usually by an extremely high or hard-hit shot in which the golf ball reaches enough velocity and direct impact to leave a golfball-sized dent on the putting surface.
Why is it important to fix?
Unrepaired ball marks are a nightmare for a course grounds crew and you, the golfer! A ball mark that has gone unrepaired or repaired unproperly can kill the grass and can turn a beautiful and smooth green into a lifeless and crater filled surface that resembles the surface of the moon.
Repairing a ball mark restores a smooth surface and helps keep the grass as green and healthy as it can be. A smooth and healthy green means a happy grounds crew who can allocate more time to tending to other parts of the course. Smooth greens also mean smoother putts for the golfer and less opportunity for a well-hit ball to be knocked offline by a divot in the green.
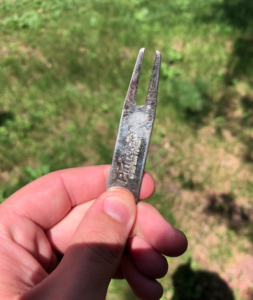
A simple design divot repair tool, by Pinnacle. This is just one design, but they can look different and be made out of wood, metal, or plastic.
What is even more important than repairing your ball mark is making sure you are repairing it the proper way. Not only can an improper technique damage the green severely, but it also can take a long time to repair. Researchers at Kansas State University conducted a study that found repairing a ball mark incorrectly can actually cause more damage than not attempting to repair it at all, sometimes take twice as long.
What is a divot repair tool?
A divot repair tool is exactly what it sounds like! It assists golfers in fixing their ball marks and should be an essential item in every golfer’s golf bag. It is a small two-pronged tool usually made out of hard plastic or metal. They are relatively cheap and can be found for sale at almost every golf course, but if you are a thrifty individual or have lost your divot repair tool you can use a golf tee to repair ball marks as well.
How to properly repair a ball mark?
Here are the steps recommended by the Golf Course Superintendents Association of America on how to properly repair divot holes on a green.
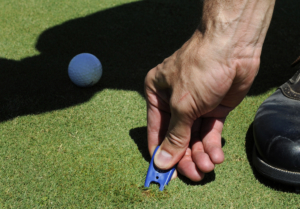
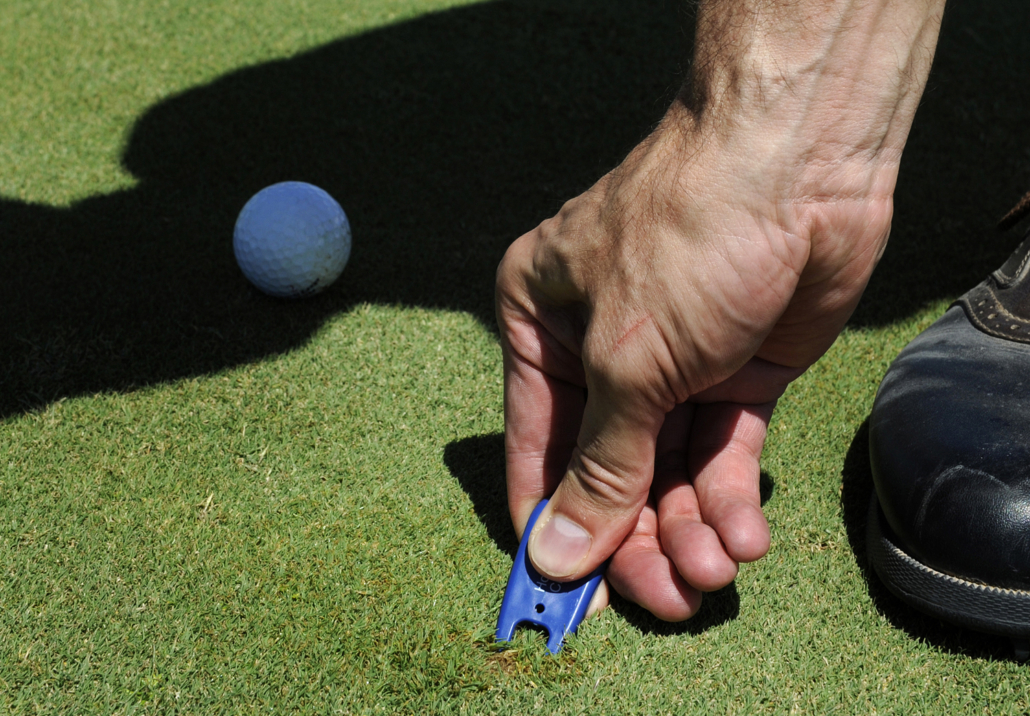
Follow step #1 and insert your repair tool into the turf like this at a 45-degree angle.
Step #1: Take your ball mark repair tool and insert the prongs into the turf at the edge of the depression. Note: Do NOT insert the prongs into the depression itself, but at the rim of the depression.
Step #2: The next step is to push the edge of the ball mark toward the center, using your ball mark repair tool in a “gentle twisting motion,” in the words of the GCSAA.
This is the step where golfers who incorrectly “repair” ball marks usually mess up. Many golfers believe the way to “fix” a ball mark is to insert the tool at an angle, so the prongs are beneath the center of the crater, and then to use the tool as a lever to push the bottom of the ball mark back up even with the surface. Do not do this! Pushing the bottom of the depression upward only tears the roots, and kills the grass.
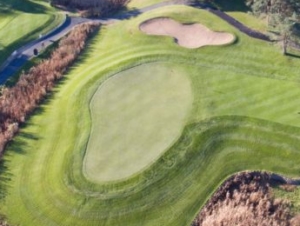
The green on hole #8 at River Oaks Golf Course.
Step #3: Once you’ve worked around the rim of the ball mark with your repair tool, pushing the grass toward the center, there’s only one thing left to do: Gently tamp down the repaired ball mark with your putter smooth the putting surface.
—
Please continue to repair your ball marks and remind others to do so as well, so we can keep our greens looking like this!


